Fermented Garlic
How to Make It
Step 1
Place the peeled garlic in a pint-sized glass jar. Feel free to use pre-peeled garlic or peel your own garlic. If using fresh garlic, place the side of a knife on the garlic clove and gently tap the knife. Doing so will activate enzymes in the garlic skin, releasing the clove from the skin and making it easy to peel.
Step 2
Make the brine. To make the brine, combine warm water with salt. We have included the measurements here in cups and teaspoons. However, it is best to make brine based on weight. Weigh out any amount of water in grams and multiply that number by 0.02 to calculate the amount in grams of salt you need to add. Add the salt and mix it to dissolve the salt. Use this mixture to pour over the garlic. You can adjust this amount to however much you need if making a larger batch.
Step 3
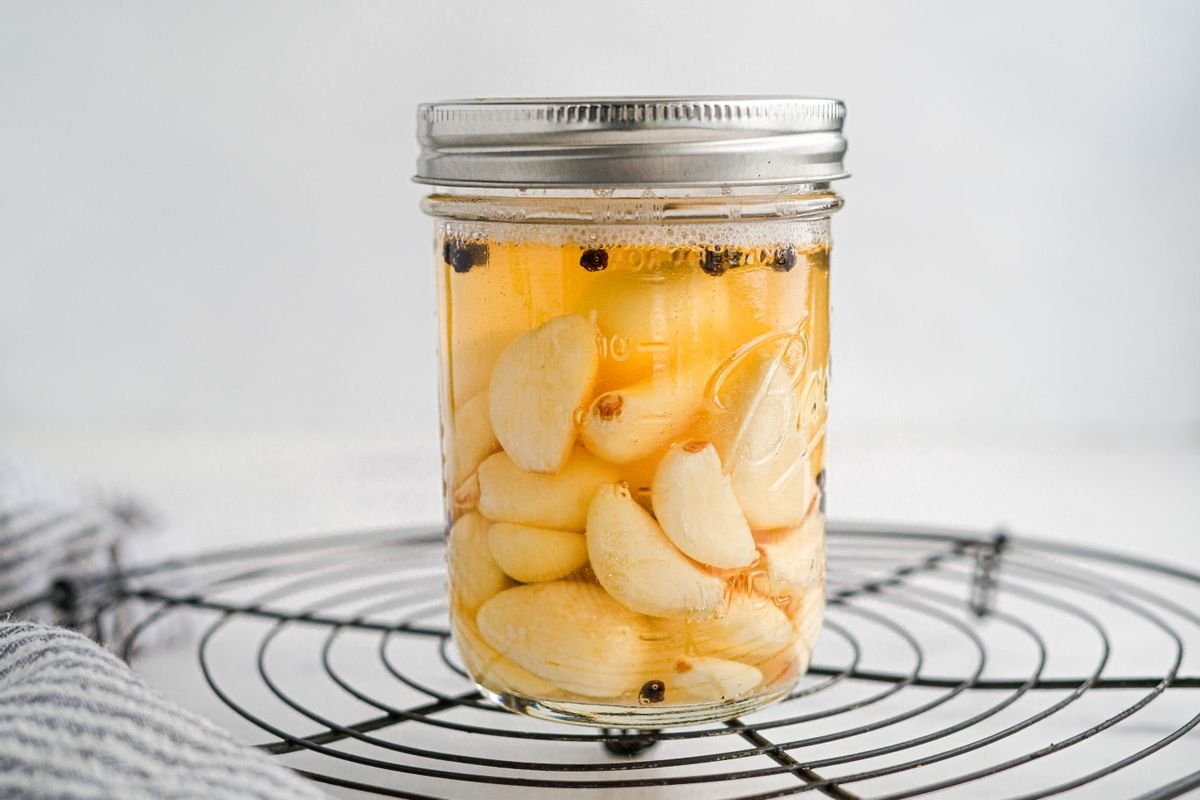
Place the lid on the garlic. Store the garlic in a cool dark place. Make sure to “burp” the garlic every day to release pressure. It may take a few days to a few weeks to start seeing bubbles in the brine. When the fermentation is ready, the brine should be golden-brown in color.
Ingredients
- Garlic – 6 oz
- Water – 1 cup
- Coarse Kosher Salt – 1.25 tsp
- Bay Leaf – 1 leaf
- Whole peppercorns, Black – 1 tsp